Last night, I went on a photo walk with a couple of friends that I haven’t seen in a while. There’s nothing like wandering around a largely-empty financial core in late evening accompanied by two of the best storytellers I know — it’s inspirational. Even though I brought along my DSLR, one of my favourite photos of the night came from my iPhone. I thought you may be interested in the process behind the image.
Please note that I’m going to use affiliate links for the three apps in my workflow. That’s not the impetus for this post, though — this year’s bills are paid on the site. I personally recommend all of these apps, even if I’m not getting a kickback.
Step One: Original Image
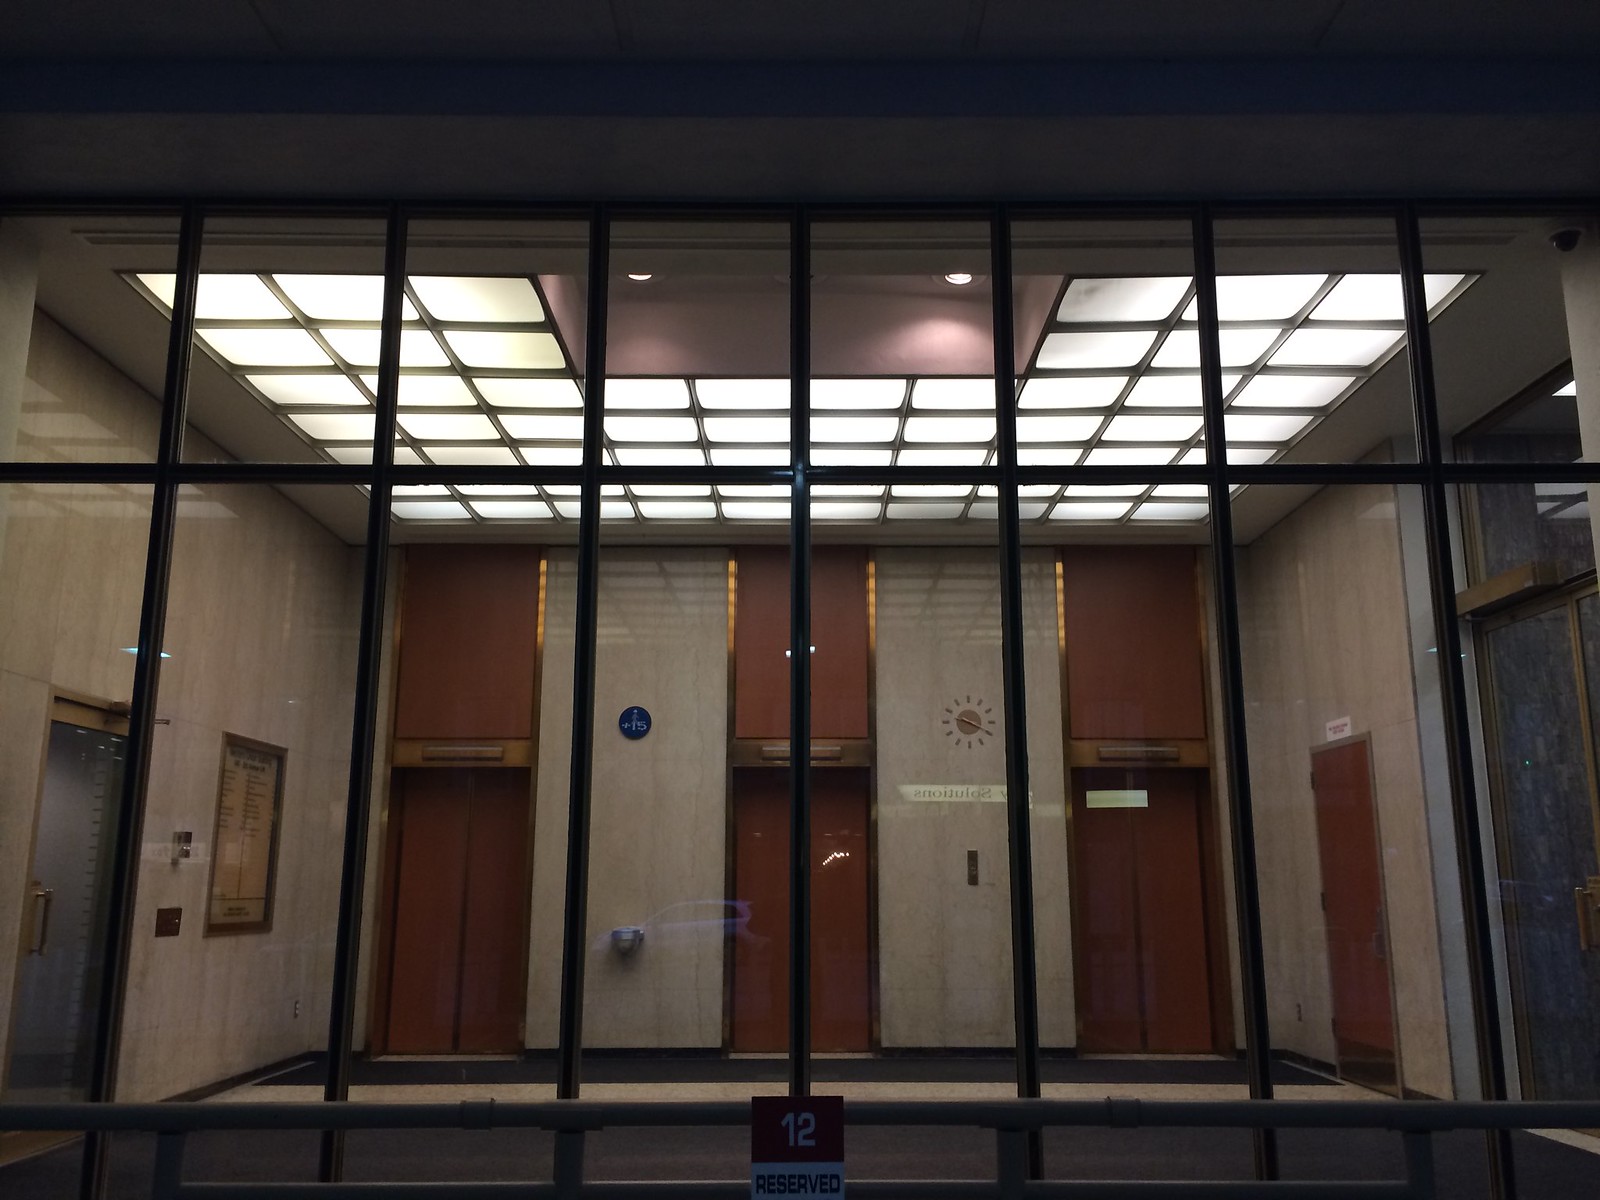
Calgary’s relationship with architecture has been challenging, to put it mildly. As with any city, the focus on quality is dependent on the boom or bust cycle. In recent boom years, projects in the city have been bestowed with awards. Unfortunately, many of the skyscrapers that fill out our dense financial sector were built during booms in eras of bland, disappointing, and ugly architecture. Case in point: the Western Union Building. Built in 1964, it has an exterior that looked old and forlorn by 1966.
There’s something really endearing about its elevator lobby, though. As you might be able to see on Street View, it’s located in a small glass room at the base of the building, set back by a visitor parkling lot. It is truly a relic of the ’60s, complete with vintage Otis elevators, a large fluorescent ceiling grid, and an ashtray (!) right beside the elevator bank.
I took one photo on my DSLR, and two on my iPhone — a normal photo, and then a normal + HDR photo — using the native Camera app. The first iPhone image turned out the best, with decent focus and great exposure.
Step Two: Filterstorm Neue
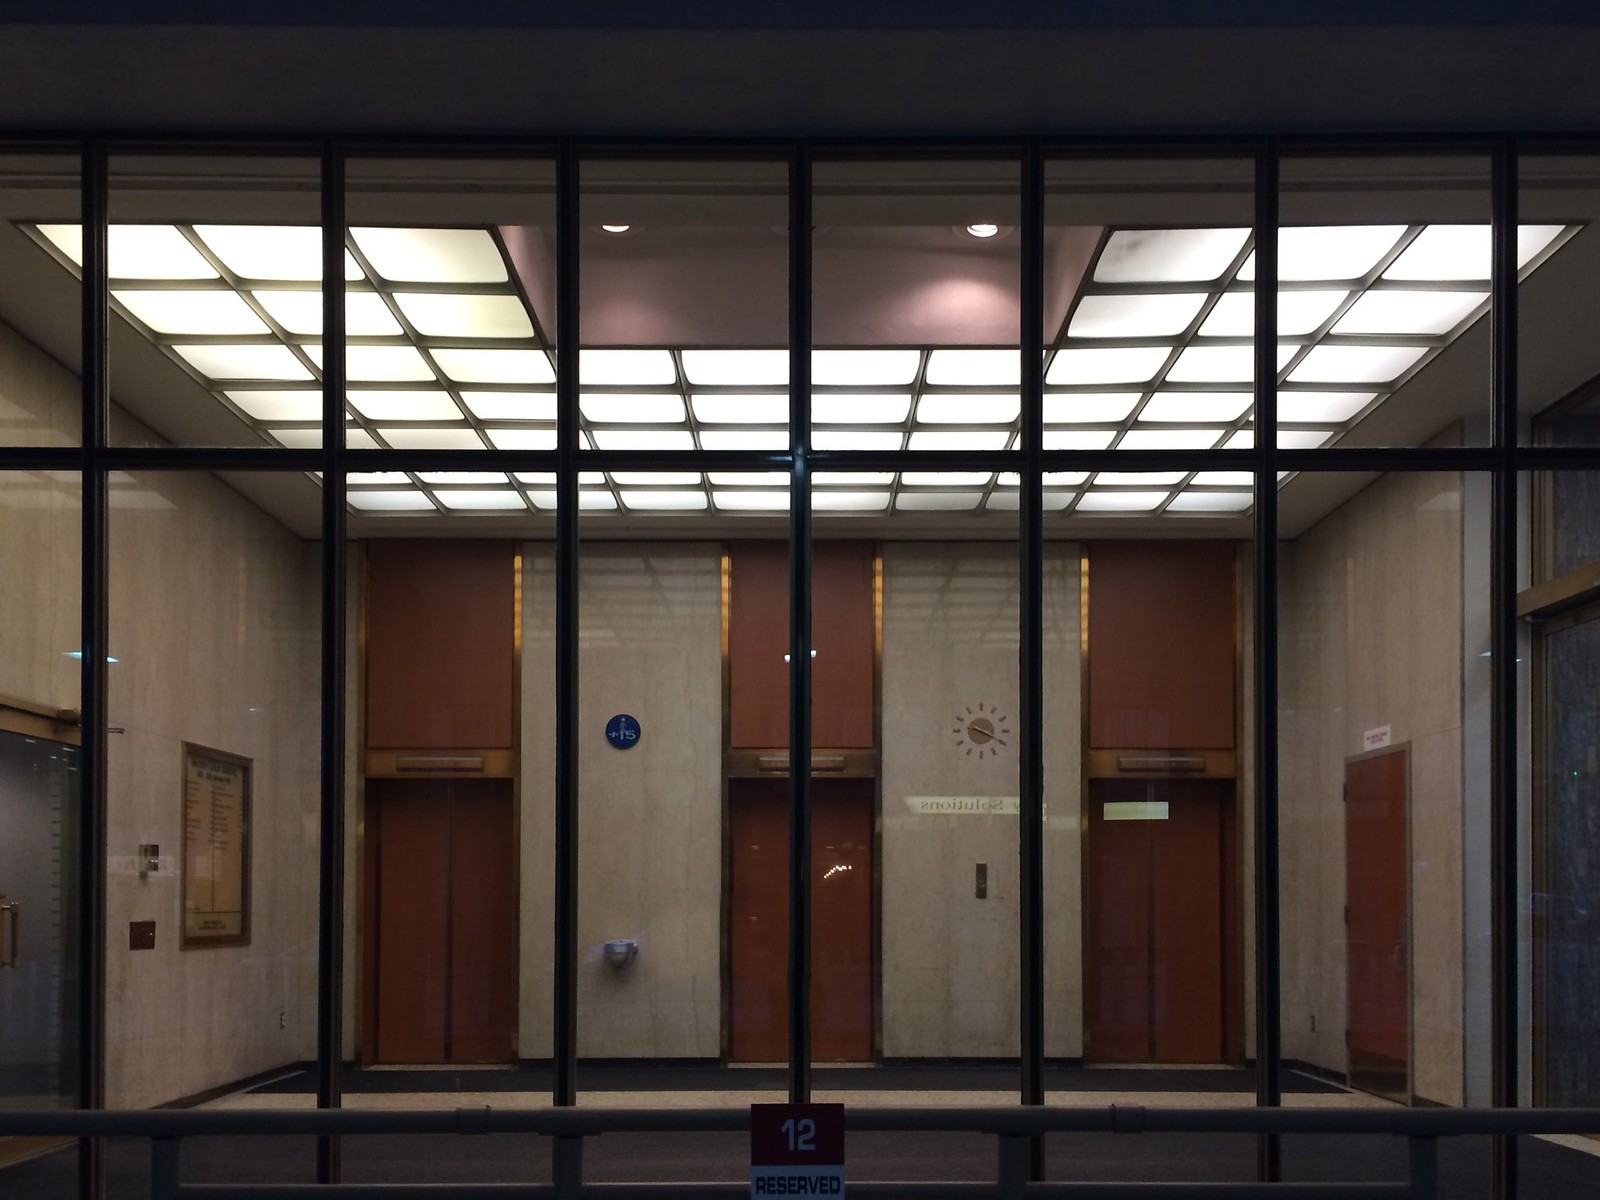
The first thing that needed to go was the reflection of the car beside the ashtray, on the lefthand side of the image. The clone stamp tool in Filterstorm Neue ($3.99) is perfect to take care of that. It’s very forgiving, so using it on a touch screen is pretty easy. I did a pretty quick-and-dirty job of removing the majority of the reflection, as it will be good enough for an Instagram-sized image.

Step Three: SKRWT
I got to use my new favourite app on this image, and it’s way better for it. SKRWT’s ($0.99) lens distortion correction makes this image work. The modernist grid of this crazy lobby demands that the parallel lines are retained, and SKRWT makes it super easy to fix them.
Step Four: VSCO Cam
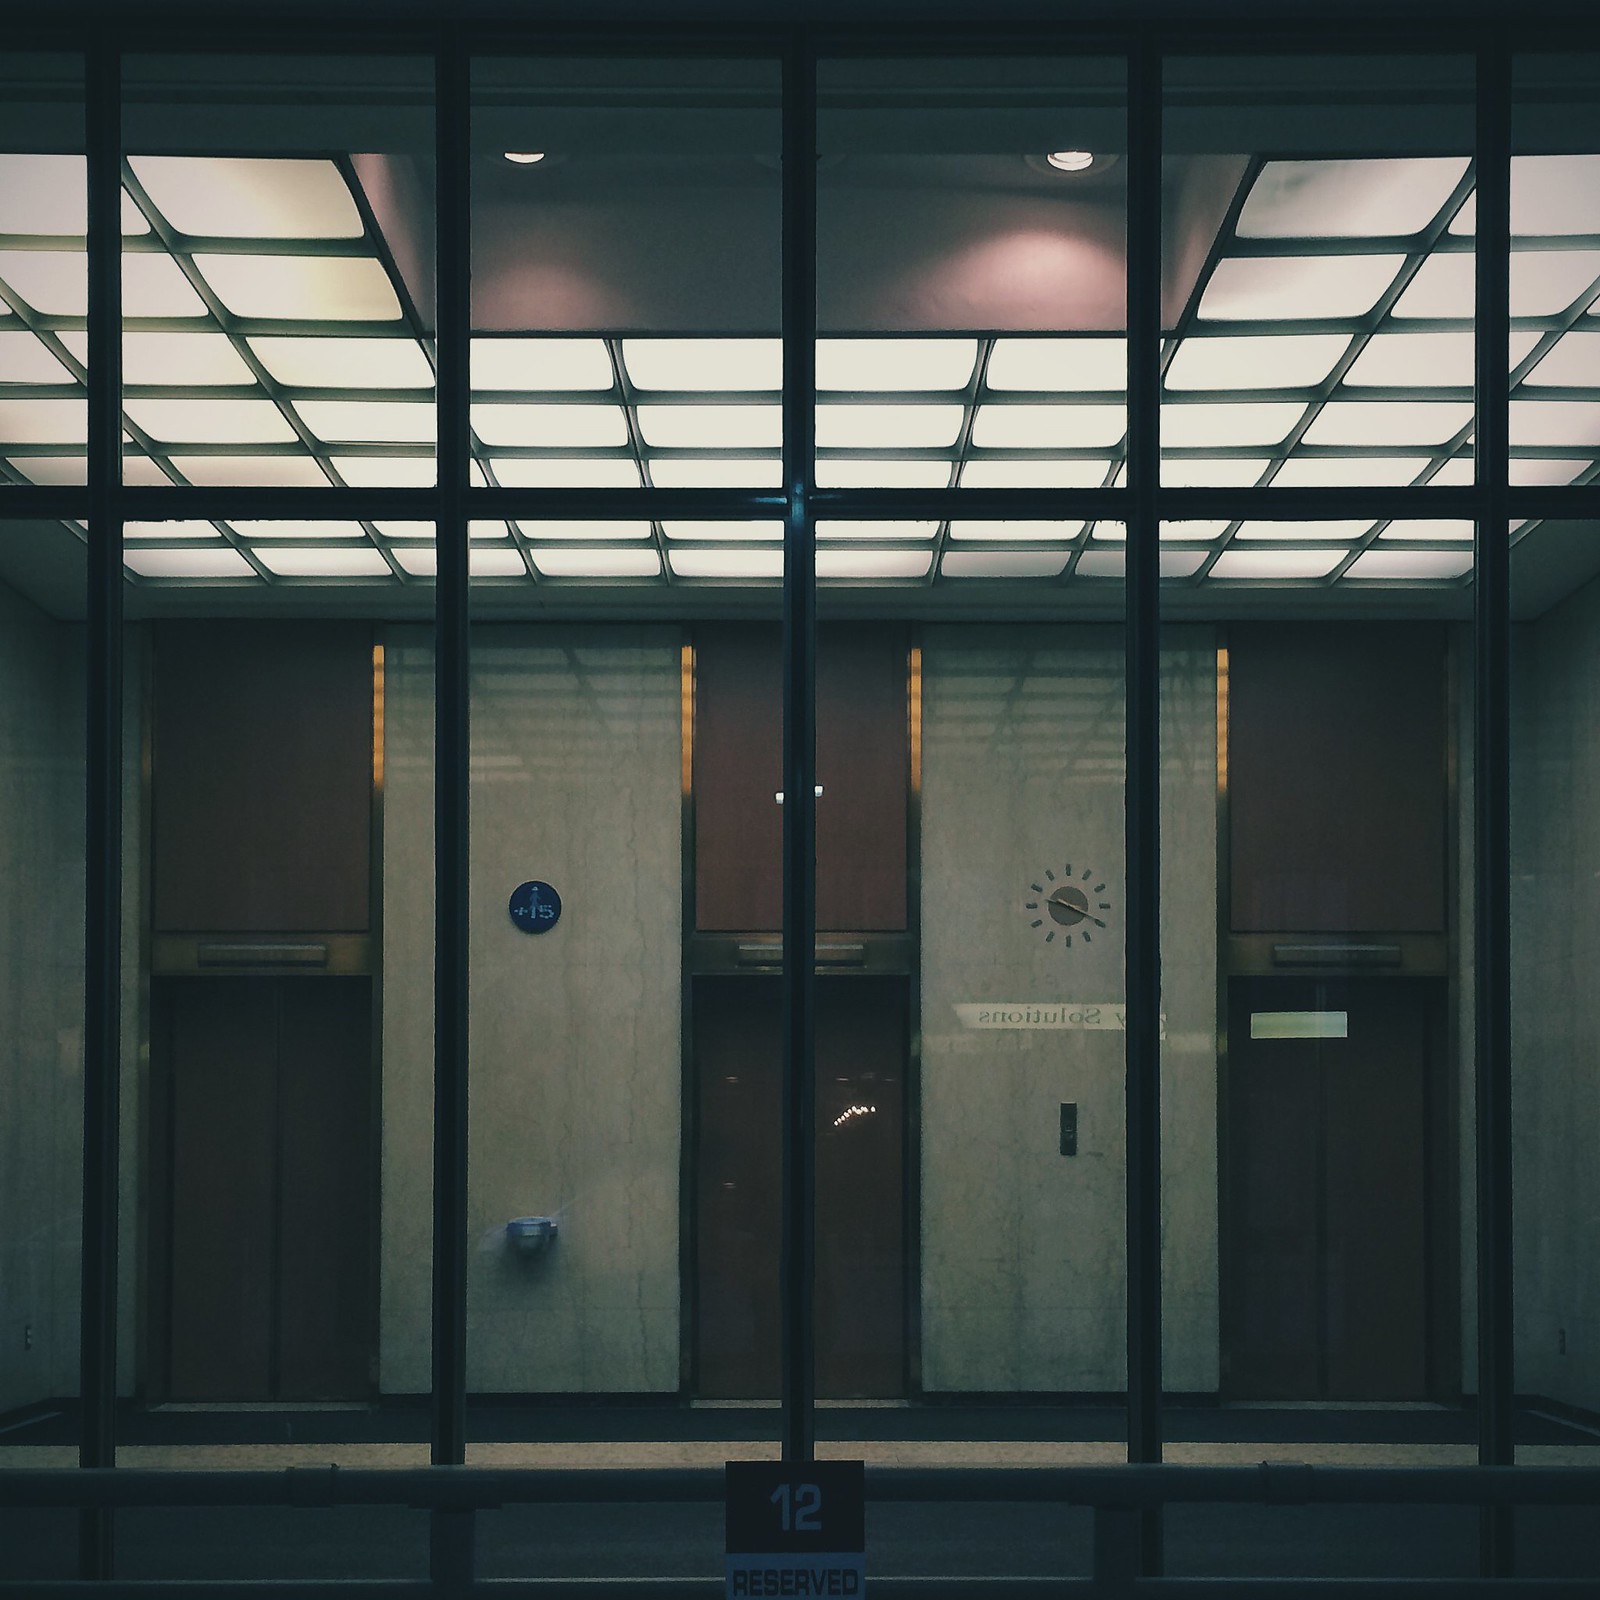
The venerable VSCO Cam (free, with in-app purchases) makes its appearance as the grading and finishing app. I used the H4 preset for a muted, cold feeling, and added some cream to the highlights and a little bit of green to the shadows to accentuate this. A little bit of sharpening and a crop, and it was ready for Instagram (after saving it to the camera roll, of course).
One thing that you might notice about this process is that re-saving a JPEG four times noticeably degrades its quality. I hope that iOS 8 brings a way for photo apps, especially, to work together a little better. I’d love to be able to pass a TIFF all the way through this process, as it would prevent a buildup of artifacts.
That being said, I am extremely happy with the result of this process on this particular image. This is one of my favourite photos that I’ve shot recently. I hope this process breakdown can give you a few ideas.